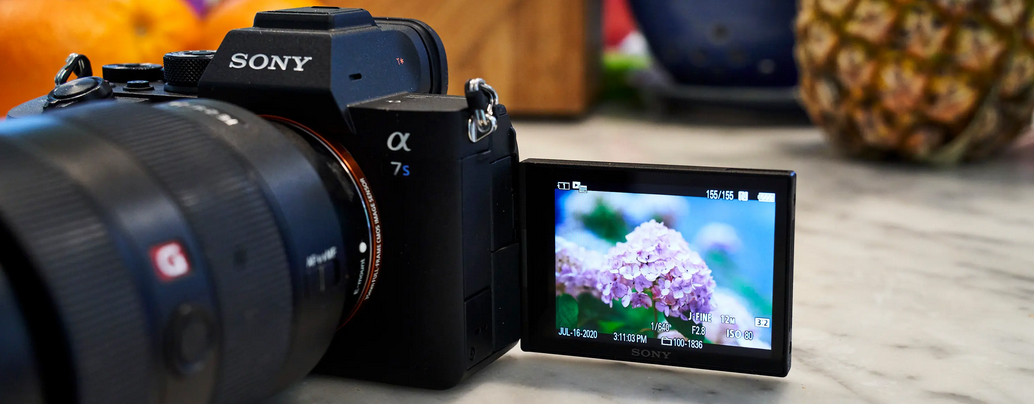
Many digital camcorders like the Sony a7S III used H.265/HEVC video file format as the recording format. But can we import and edit Sony a7S III 4K footage in all the popular editing software?
H.265 has become the format for many digital cameras because of its compatibility with camera hardware. In comparison to AVC, HEVC offers from 25% to 50% better data compression at the same level of video quality, or substantially improved video quality at the same bit rate. However, Sony a7S III 4K H.265 10-Bit is less compatible with software applications than regular MP4 and MOV videos. Some applications support regular H.265 videos but do not support Sony a7S III 4K H.265 videos. If you are using DaVinci Resolve or other editing software, one great solution is to convert H.265 to almost any format you want with H.265 converter for Mac.
With DaVinci Resolve 16 or it’s latest 17 version, you can edit footage captured in such popular video formats as MOV, MP4, MTS, AVI, and MXF. Thus, if you want to edit 4K H.265 files with DaVinci Rssolve out of the Sony a7S III, you should need a H.265 to DaVinci Resolve Converter to convert Sony a7S III H.265 to 4K H.264 MP4, DNxHD MOV or ProRes MOV compatible format.
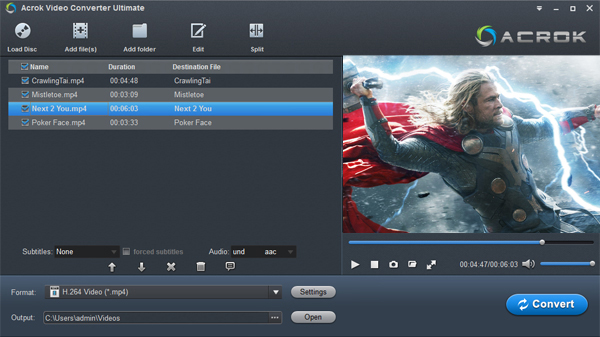
Acrok Video Converter Ultimate is an excellent H.265 Video Converter and 4K Video Converter, with this application, converting Sony a7S III H.265, XAVC HS, XAVC S-I and XAVC S to DaVinci Resolve 16 supported video format is very easy. In addition, you can convert any video shooting in party or birthday such as MP4, MOV, MXF, MTS, Blu-ray and DVD to popular video format like MOV, M4V, AVI, WMV, MP4, FLV, etc. Of course, you can convert all your downloaded MKV, AVI, MOV, MP4, WMV and purchased Blu-ray/DVD discs ro any device for more enjoyment. If you are Mac user, please try Acrok Video Converter Ultimate for Mac. What’s more, the conversion is easy to handle and only with a few simple clicks, you can finish the conversion without facing any glitches.
How to convert Sony a7S III H.265 for editing in DaVinci Resolve?
1. Click the “Add File” button to select the Sony a7S III videos you want to import to DaVinci Resolve 16 from your hard drive.

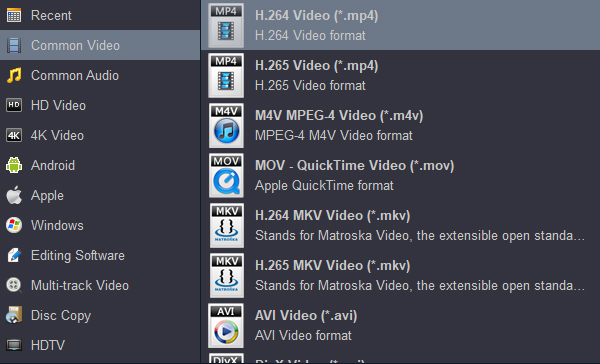
2. Click the arrow to the very right of the Format field and to left of the Settings button, and you will see the Profile down-up list. Move your mouse pointer to “Common Video”, and from the “Commom Video” profiles, click on a supported format by DaVinci Resolve, such as H.264 MP4. If you like, you can choose DNxHD MOV or ProRes MOV as output format.

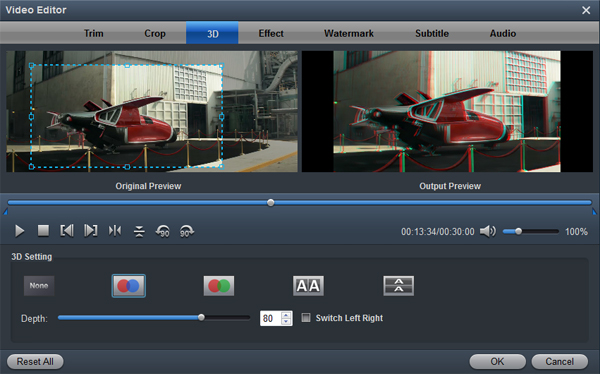
3. If you are a beginner and you just want do make some simple editing such as adjusting video contrast/brightness/saturation, trimming video length, cropping video etc, This H.265 video converter itself can do it for you: Adjust H.265 video effects – Click the “Edit” icon on the main interface, and click the “Effect” tab, and you will see the Edit window and start to adjust video contrast, brightness and saturation. You can even select a special video effect to apply to your Sony a7S III video.

4. The final step: Click on the blue Convert button to start the conversion of Sony A7s III H.265 to H.264, DNxHD or ProRes. By default, the folder where the converted files are saved will be opened right after the conversion. And now, you can just launch DaVinci Resolve16 and add the converted files to start edit them.


Comments are closed